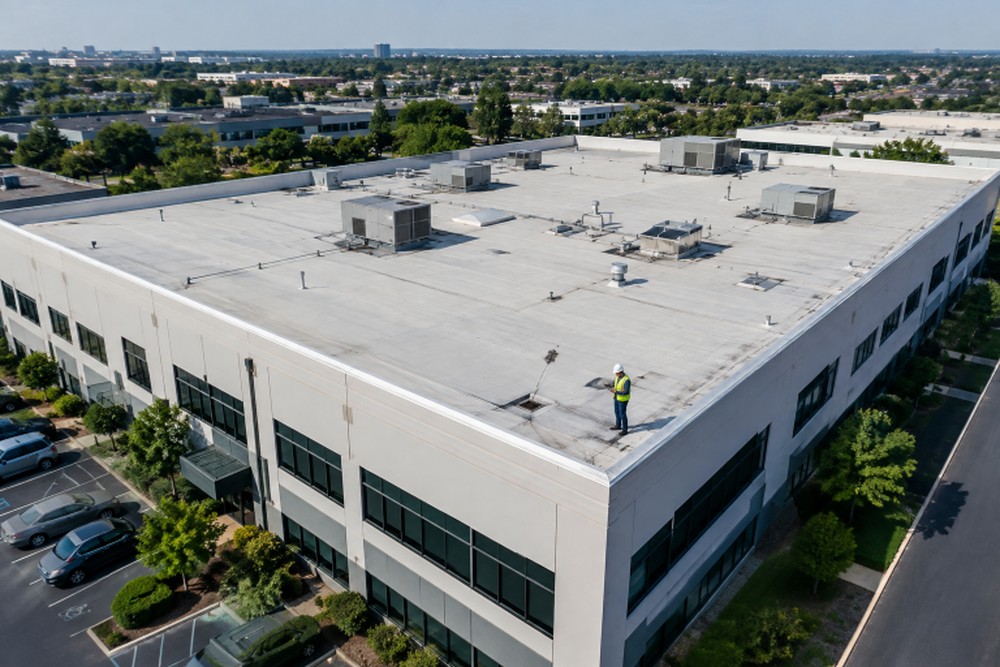
Key Takeaways
- Use a consistent checklist to identify roof damage, leaks, drainage issues, and maintenance needs.
- Inspect interior areas, roof surfaces, flashings, drains, and rooftop equipment.
- Document findings with photos, dates, and clear descriptions.
- Prioritize urgent repairs and arrange professional assessments for hidden damage or safety concerns.
- Schedule inspections after severe weather and maintain regular roof maintenance records.
A commercial roof inspection checklist gives building owners and facility managers a consistent way to identify concerns, document conditions, and plan repairs before small defects become disruptive leaks. For a more detailed review, visit this link to learn what a professional commercial roof inspection can involve.
Checklists are most useful when they support regular observation, clear records, and timely follow-up. They do not replace an assessment by a qualified roofing professional, especially when there are active leaks, suspected moisture below the surface, or safety concerns.
Why a Roof Checklist Matters
Commercial roof issues often develop gradually. A small open seam, a cracked sealant joint, a blocked drain, or a damaged flashing detail may not cause an immediate interior leak. Reviewing the same areas during each inspection makes it easier to compare conditions over time and establish a useful maintenance history. Good documentation can also help with repair budgeting, warranty discussions, and insurance records after a weather event.
What to Do Before the Inspection
Gather the roof installation date, system type, previous inspection reports, repair invoices, warranty documents, and maintenance records. Also collect recent leak reports, tenant complaints, and dates of HVAC, solar, signage, or other rooftop work. Note recent hail, heavy rain, wind, snow, or fallen debris. Plan access in advance, review weather conditions, and limit roof entry to trained, authorized personnel.
Interior Areas to Review
Start inside the building because water can travel before it becomes visible. Look for ceiling stains, bubbling paint, damaged ceiling tiles, musty odors, visible mold, wet insulation, rusted steel, or sagging finishes. Ask tenants, employees, and maintenance staff where they have noticed drips, odors, or recurring moisture. Record the location, date, and apparent severity of each finding.
Exterior Roof Areas to Check
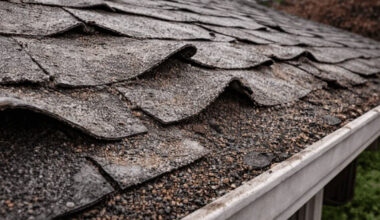
Divide the roof into manageable zones so that no section is overlooked. Review the roof surface for punctures, tears, cracks, blisters, exposed layers, and wear from foot traffic or service activities. Check seams and laps for lifting, wrinkles, separation, or open areas. Inspect flashings at walls, curbs, transitions, and edges, along with parapets, coping, sealant joints, fasteners, and metal components for corrosion or movement.
Drainage, Ponding Water, and Roof Edges
Drainage deserves close attention because water that remains on a roof can reveal low areas and increase stress on roofing materials. Inspect drains, strainers, scuppers, gutters, downspouts, and drainage paths for leaves, trash, and other debris. Note areas where water remains after a suitable drying time. Check that downspouts move water away from the building and that fascia, edge metal, gravel stops, and coping remain secure.
Rooftop Equipment and Penetrations
Every pipe, vent, conduit, skylight, hatch, equipment curb, and support is a separate inspection point. Review seals and flashings around penetrations for cracks, gaps, shrinking sealant, or separation. Look for roof damage caused by tools, access panels, maintenance activity, or unsupported equipment. Confirm that condensate discharge does not run over vulnerable roof areas, and identify any abandoned equipment or unused penetrations that require proper closure.
Signs of Hidden Moisture or Structural Damage
Surface observations do not always show the full condition of a roof system. Soft areas underfoot, repeated leaks, blisters, wet insulation, deteriorated decking, rust, sagging, or unusual movement can indicate a deeper issue. When concealed moisture is suspected, a qualified professional may recommend methods such as moisture scanning, infrared evaluation, or selective testing that are appropriate for the roof system and the inspection objective.
Safety Rules for Roof Access
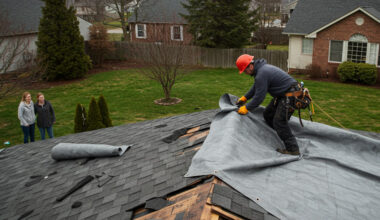
Roof inspections should never require untrained staff to accept unnecessary risk. Use a written access plan, assess fall hazards before entry, and stay clear of unprotected edges, skylights, openings, and questionable surfaces. Suitable ladders, guardrails, warning lines, and personal fall protection may be needed depending on the work and site conditions. Planning for fall hazards should be part of every roof-access procedure. Postpone access during rain, ice, lightning, or high winds.
When to Inspect After Severe Weather
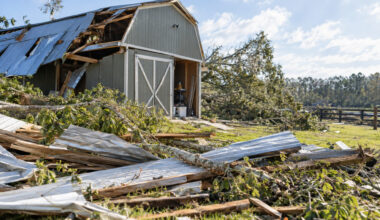
Arrange a prompt review after hail, high winds, heavy snow, tornadoes, hurricanes, impact from debris, or the appearance of new interior leaks. Once conditions are safe, photograph visible damage from the ground or another safe location, document affected interior areas, and limit unnecessary roof traffic. The National Weather Service advises property owners to assess damage only after the immediate threat has ended, which supports a safer storm-response process.
What a Useful Inspection Report Should Include
A practical report identifies the inspection date, weather conditions, roof areas reviewed, and areas that could not be accessed. It should include photos tied to clear locations, plain-language descriptions of findings, possible causes when reasonably identifiable, and notes about active leaks or safety concerns. The report should also recommend repairs, monitoring, further testing, and a suggested time frame for each action.
How to Rank Repairs and Maintenance Tasks
- Immediate: Active leaks, unsafe conditions, major damage, or issues likely to worsen quickly.
- Near-term: Blocked drainage, failed flashing, open seams, and recurring repair areas.
- Planned: Aging materials, minor corrosion, worn coatings, and scheduled upgrades.
- Monitor: Stable conditions that should be photographed and reviewed at the next inspection.
Compare repair options based on expected service life, compatibility with the existing roof, operational disruption, and future maintenance needs, not solely on the initial price.
Final Thoughts
A commercial roof checklist replaces guesswork with organized observations and supports better maintenance decisions. Safe access, clear records, regular reviews, and prompt action on important findings help building owners protect a critical part of their property.